macosx
Start Here…
These instructions are written for installing Go on Mac running Mac OS X v10.10 Yosemite. These instructions should work for any version of Mac OS X from v10.6 Snow Leopard onwards.
Installing Go is straightforward. We are going to show you how to install the latest version of Go.
We need to install Go using the Terminal also called the shell. So your first task is to start a new Terminal.
To do this you need to open your Spotlight search by typing pressing Command (⌘)-space you will see the Spotlight search window appear.

Spotlight search window
Next you need to type ’terminal'.
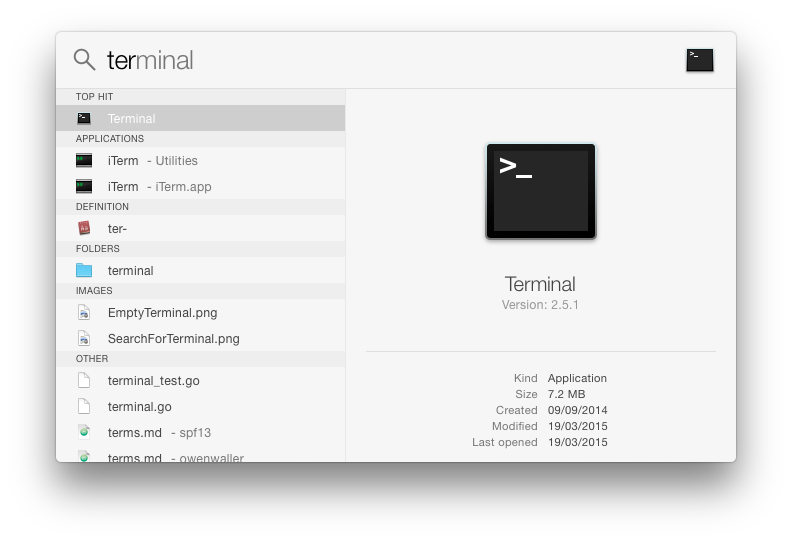
Finding the Terminal application with Spotlight
The Terminal application will be the top search result. You will need to use the Terminal application frequently when you use Go. We suggest that you drag the Terminal application into you dock.
Notes
When you use the terminal you will need to type the commands in the boxes like this:
lsDownload and Install the Programs that Go needs
Go needs four other programs to work correctly. These programs must be installed on your computer first. These programs are called dependancies because another program, in this case Go, depends upon them to work correctly.
These are provided by Apply as the Command line tools for XCode. To download and install these on your computer you first need to open start the terminal application. You will see a window like this:
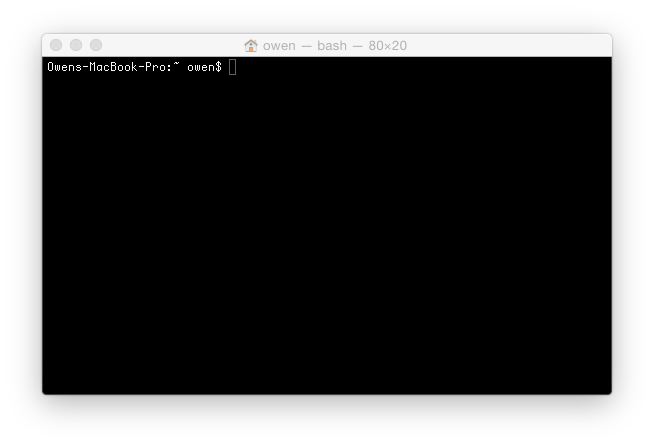
A new terminal window
Once the window opens you need to type the following command into the terminal
xcode-select --install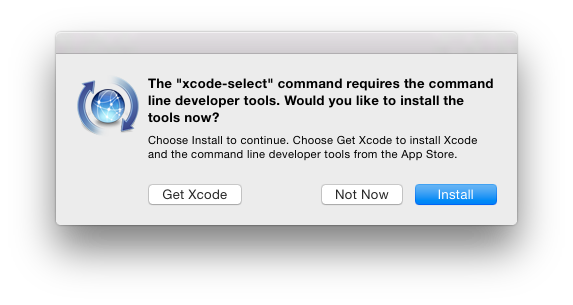
Installing the XCode Command Line Tools
click on Install. The download and install will take some time to complete. Once the download and install completes leave you Terminal window open. You will need it again later.
Once the download and install has completed you are ready to install Go.
Download Go
Next you need to download Go itself. You need to visit Go’s download page.
You should download the file called go1.4.2.darwin-amd64-osx10.8.pkg if you have
Mac OS X v10.8 (Mountian Lion) or later. If you have Mac OS X v10.6 (Snow Leopard) or Mac OS X v 10.7 (Lion) you should download the file called go1.4.2.darwin-amd64-osx10.6.pkg
Currently the latest Go version is 1.4.2. if there is a later version there when
you read this you should download that instead.
Notes
When you click on the download link your web browser may ask you to want to save the file. You should choose to save it.
    <img src="/images/install/macosx/MacOSXSaveDialog.png"  />


<figcaption>
    <h4>Save the Go installer</h4>

</figcaption>
Once you have downloaded the file then it is time to install Go.
Installing Go
Now you have Go this is really easy. Open your Downloads folder and find the Go installer package.
The Go installer
Double click on the installer. When the installer starts click on “Continue”.
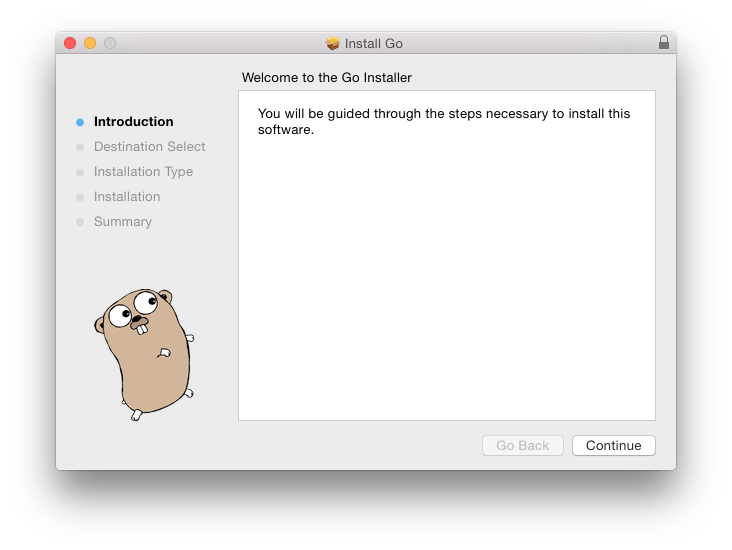
Starting the Go installer
You should install Go for all users of your Mac and accept the default install location. The installer will ask you for your password before the install process begins. This is normal. Enter you password and click “Continue”.
Go will now begin to install. Once the Go installer completes if everything has worked correctly so far you should be able to confirm the
version of Go you have installed. To do this you use Go’s go command into the
Terminal window.
go versiongo version go1.4.2 darwin/amd64
Notes
Now you need to set up your workspace.
Setting up a Go Workspace
Go code must be kept inside a workspace. A workspace is a directory on your computer. A directory is the correct name for the folders that you see when you use the file manager. Inside the workspace directory there must be three more directories.
srccontains the Go source code, organised into packages. There is one directory per package. More on packages later.pkgcontains the package objectsbincontains your executable programs.
The go tool builds source packages it finds in the src directory and
installs the resulting binaries in the pkg and bin directories.
This is not a complicated as it sounds. Creating a work space is easy. You can call your Go workspace anything, but we will choose to call ours “go-workspace”. To create your workspace you need to type the following into you Terminal
cd ~
mkdir go-workspace
cd go-workspace
mkdir src
mkdir pkg
mkdir binls -ldrwxr-xr-x 2 pi pi 4096 Feb 11 23:33 bin
drwxr-xr-x 3 pi pi 4096 Aug 14 2014 pkg
drwxr-xr-x 11 pi pi 4096 Jan 21 16:13 src
We are nearly finished now. There is just one more step to…umm…go. We need to tell Go where to find your workspace.
To do this you need to edit
a file called .bash_profile in your home directory. You need to do this from the Terminal because this file is a hidden system file that is not visible in the Finder. You can do this by typing
open -a TextEdit -f ~/.bash_profileBe Careful
.bash_profile file is an important file. It controls how your Terminal works.
We are going to add five lines to the bottom of the file. Be careful not to
change any of the other lines in the file. If you think you have made a mistake
quit TextEdit without saving the file. You can then start TextEdit again with the
original .bash_profile by retyping the above command.
We need to set up the GOAPTH environmental variable. Go to the
end of the .bash_profile file and add these five lines.
# Set the value of the GOPATH environmental variable to the go-workspace
# This tells go which directory is your workspace
export GOPATH=$HOME/go-workspace
# Add the workspace's bin directory to the PATH
export PATH=$PATH:$GOPATH/binThe last step is to tell your Terminal to read your updated .bash_profile file. We do this with the source command. Now type
source ~/.bash_profileYou now have Go installed on your computer. Now you need to test it to make sure that everything is working. To find out how to do this you need to read testing your install guide.
