Windows Install Guide for Windows 7 and 8
Start Here…
These instructions are written for installing Go on Ubuntu or another Debian derived Linux Distribution. If you are using a different Linux distribution then you will need to adapt these instructions.
Installing Go is straightforward. We are going to show you how to install the latest version of Go.
We need to install Go using the Terminal also called the shell. So your first task is to start a new Terminal.
Notes
You need to type the commands in the boxes like this:
lsDownload and Install the Programs that Go needs
Go needs four other programs to work correctly. These programs must be installed on your computer first. These programs are called dependancies because another program, in this case Go, depends upon them to work correctly.
The four programs are “Git”, “Mercurial”, “Bazaar” and “Subversion”. They are all version control tools.
Downloading and Installing Git
You can download Git directly from the Windows download page. This will download the latest version for you. When you see a window asking you to save the file you should select “Save File”.
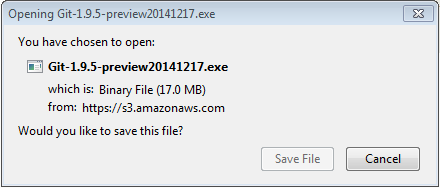
Git Save Dialog
You now need to open you Downloads folder and double click on the git installer file

Git installer
If you see a security warning like this
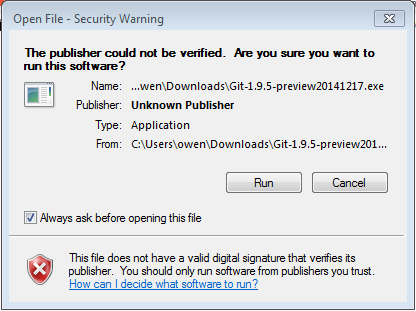
Git Security Warning
It is OK to click “Run”. Once the installer starts click “Next” until the installer asks you to “Adjust your PATH environment”.
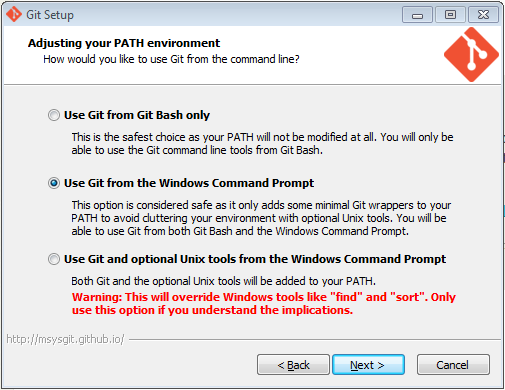
Git Path adjustment
You should select the middle option “Use Git from the Windows Command Prompt” as shown above.
Click “Next” to continue the installer and continue to click “Next” until the installer finishes. Now click “Finish” to close the installer.
Git is now installed. Next we need to install “Mercurial”
Downloading and Installing Mercurial
You can download Mercurial from the Mercurial project downloads page. The version you want to download is called Mercurial 3.3.2 Inno Setup Installer - X64 windows. The latest version if currently 3.3.2. If there is a later version available when you read this you should download this instead.
When you see a window asking you to save the file you should select “Save File”.
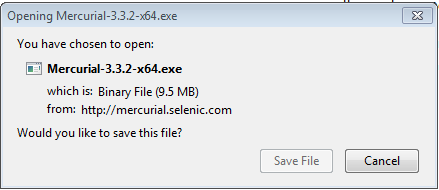
Mercurial Save Dialog
You now need to open your Downloads folder and double click on the Mercurial installer file.

Mercurial Installer
If you see a security warning like this
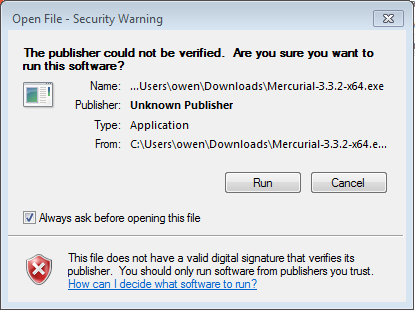
Mercurial Security Warning
It is OK to click “Run” and then click “Yes” in the the “User Account Control” window if it appears. Once the installer starts, clicking “Next”, accept the license agreement
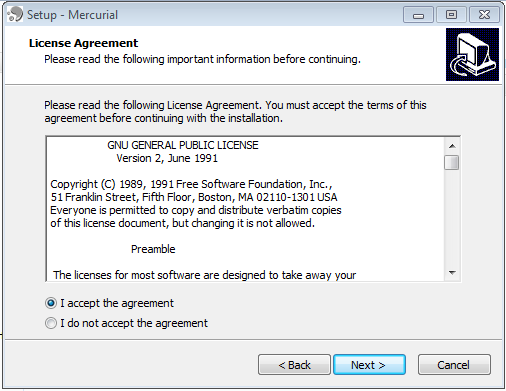
Mercurial License Agreement
Then keep clicking “Next” until you see the “Ready to Install” prompt
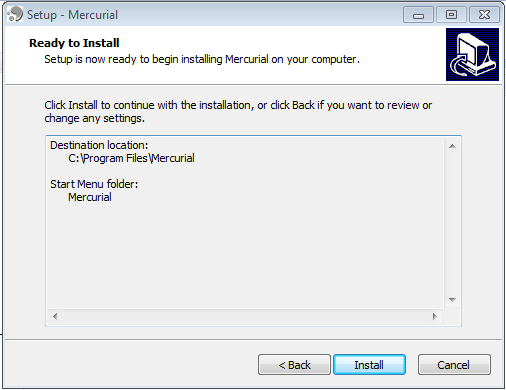
Mercurial Ready to Install
Then click “Install”, then “Next” and finally “Finish” to complete the installation.
You are now read to install Bazaar.
Downloading and Installing Bazaar
You can download Bazaar from the projects Windows download page page. You should download the latest stable release of the standalone installer. Currently this is version 2.5.1. If a newer version is available when you read this you should download the newer version.
When you see a window asking you to save the file you should select “Save File”.
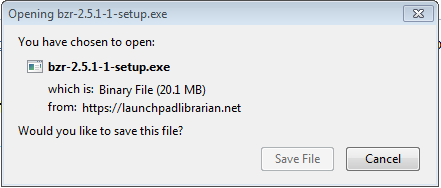
Bazaar Save Dialog
You now need to open your Downloads folder and double click on the Bazaar installer file.

Bazaar Installer
If you see a security warning like this
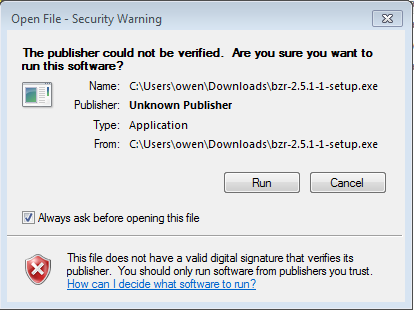
Bazaar Security Warning
Is is OK to click “Run” and the click “Yes” in the “User Account Control” Window if it appears.
Once the installer starts keep clicking “Next” until you reach the “Read to Install” window.
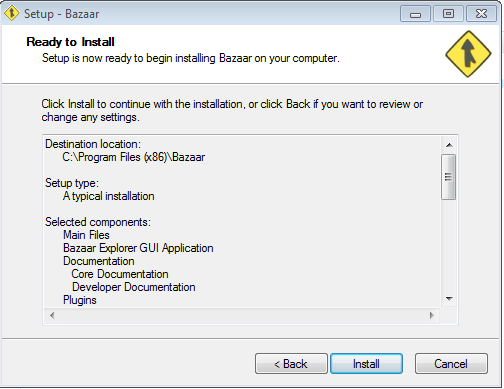
Bazaar Ready to Install
Now click “Install”, then “Finish” to complete the installation.
You are now ready to install Subversion
Downloading and Installing Subversion
Subversion is an example of a client server architecture. You only need to download the client. The client can be downloaded from SilkSNV.com’s download page. SilkSVN.com maintain a Windows installer that contains just the SVN client programs.
You should download the latest 64 bit version, currently version 1.8.11. If a later version exists when you read this you should download that instead.
When you see a window asking you to save the file you should select “Save File”.
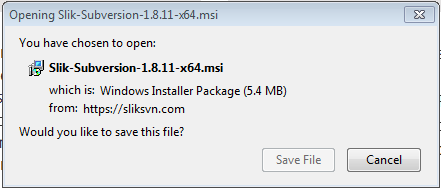
Subversion Save Dialog
You now need to open your Downloads folder and double click on the Silk-Subversion installer file.

Subversion Installer
If you see a security warning like this
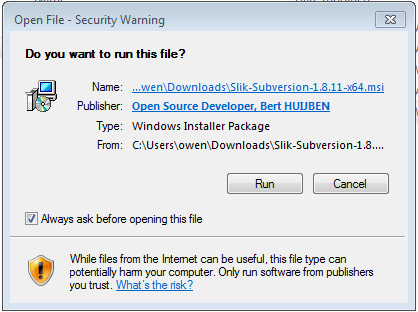
Subversion Security Warning
Is is OK to click “Run”.
Once the installer starts click “Next” and accept the license agreement.
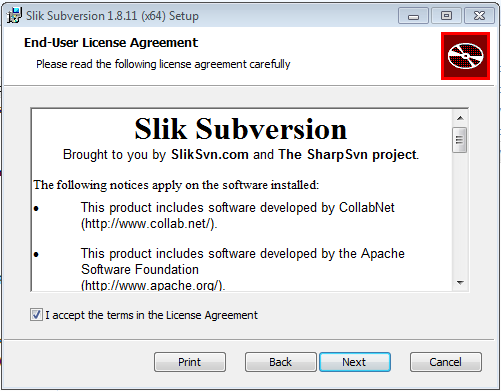
Subversion License Agreement
Then click “Next” and “Next” again until you see the “Choose Setup Type” window. Choose “Typical”
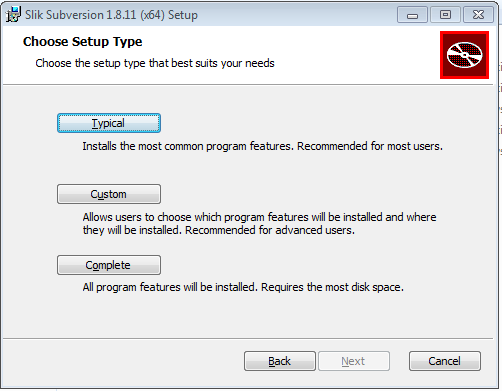
Subversion Choose Setup Type
Then click “Install” and “Yes” in the “User Account Control” window if it appears. Then click finish to exit the installer.
Now you have installed all of Go’s dependencies you are ready to install Go itself.
Download Go
Next you need to download Go itself. You need to visit Go’s download page. The version you should download is the 64-bit Windows installer. Currently the latest Go version is 1.4.2. if there is a later version there when you read this you should download that instead.
Notes
Once you have downloaded the file then it is time to install Go.
Installing Go
Now you have Go this is really easy. You need to start a Windows Explorer window by clicking on the

Windows Explorer Task Bar Icon
icon in the task bar. You then need to open the Downloads folder

Windows Downloads folder
and find the Go installer file

Go Installer File
and double click it to start the install process.
If you see a Security Warning, like this:
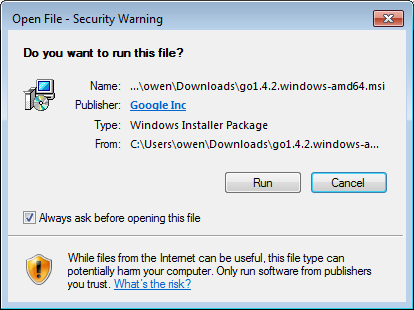
Go Install Security Warning
it is okay to run the file.
Once the installation starts, accept the license agreement and follow the prompts to install Go.
If everything has worked correctly so far you should be able to confirm the
version of Go you have installed. To do this you use Go’s go command.
First you need to open Windows Command Prompt. To do this open the Start menu,
click “All Programs” at the bottom and then find the “Accessories” folder.
You should see the Command Prompt
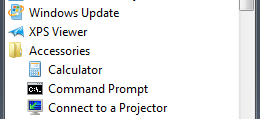
The cmd prompt
Click on the “Command Prompt” to start it.
Notes
You need to type the commands in the boxes like this:
dirgo versiongo version go1.4.2 windows/amd64
Notes
Now you need to set up your workspace.
Setting up a Go Workspace
Go code must be kept inside a workspace. A workspace is a directory on your computer. A directory is the correct name for the folders that you see when you use the file manager. Inside the workspace directory there must be three more directories.
srccontains the Go source code, organised into packages. There is one directory per package. More on packages later.pkgcontains the package objectsbincontains your executable programs.
The go tool builds source packages it finds in the src directory and
installs the resulting binaries in the pkg and bin directories.
This is not a complicated as it sounds. Creating a workspace is easy. You can call your Go workspace anything, but we will choose to call ours “go-workspace”. To create your workspace you need to type the following into your Command Prompt
cd %USERPROFILE%\Documents
mkdir go-workspace
cd go-workspace
mkdir src
mkdir pkg
mkdir bindir09/03/2015 18:54 <DIR> bin
09/03/2015 18:54 <DIR> pkg
09/03/2015 18:54 <DIR> src
We are nearly finished now. There is just one more step to…umm…go. We need to tell
Go where to find your workspace. To do this we need to set an environmental
variable called GOPATH.
Open the “Start” menu and in search box type edit environment. From the
options click the Edit environment variables for your account. You should now
see a Window like this
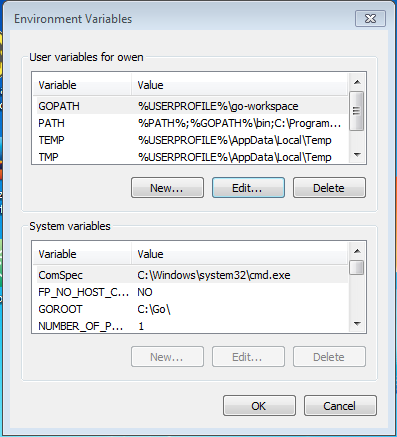
Environment variables
Click New.... Enter GOAPTH as the variable name and %USERPROFILE%\Documents\go-workspace
as the variable value, like this:
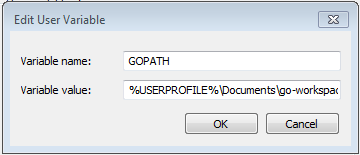
Setting the GOPATH environmental variable
Now click OK to save the setting. Do not close the Environmental Variables
window. We also need to update the PATH variable so that Go can find your programs
in your workspace.
Click New... again. Now enter PATH as the variable name and %PATH%;%GOPATH%\bin
as the variable value.
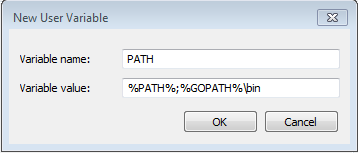
Updating the PATH
Now click OK to save the setting and OK again in the “Environmental Variables” window to close the window and confirm the new environmental variables.
You now have Go installed on your computer. You can now close you terminal window. Now you need to test it to make sure that everything is working. To find out how to do this you need to read testing your install guide.
